How to create Geological Map in ArcGIS Pro?
In this tutorial, we will learn how to create a geological map in ArcGIS Pro.
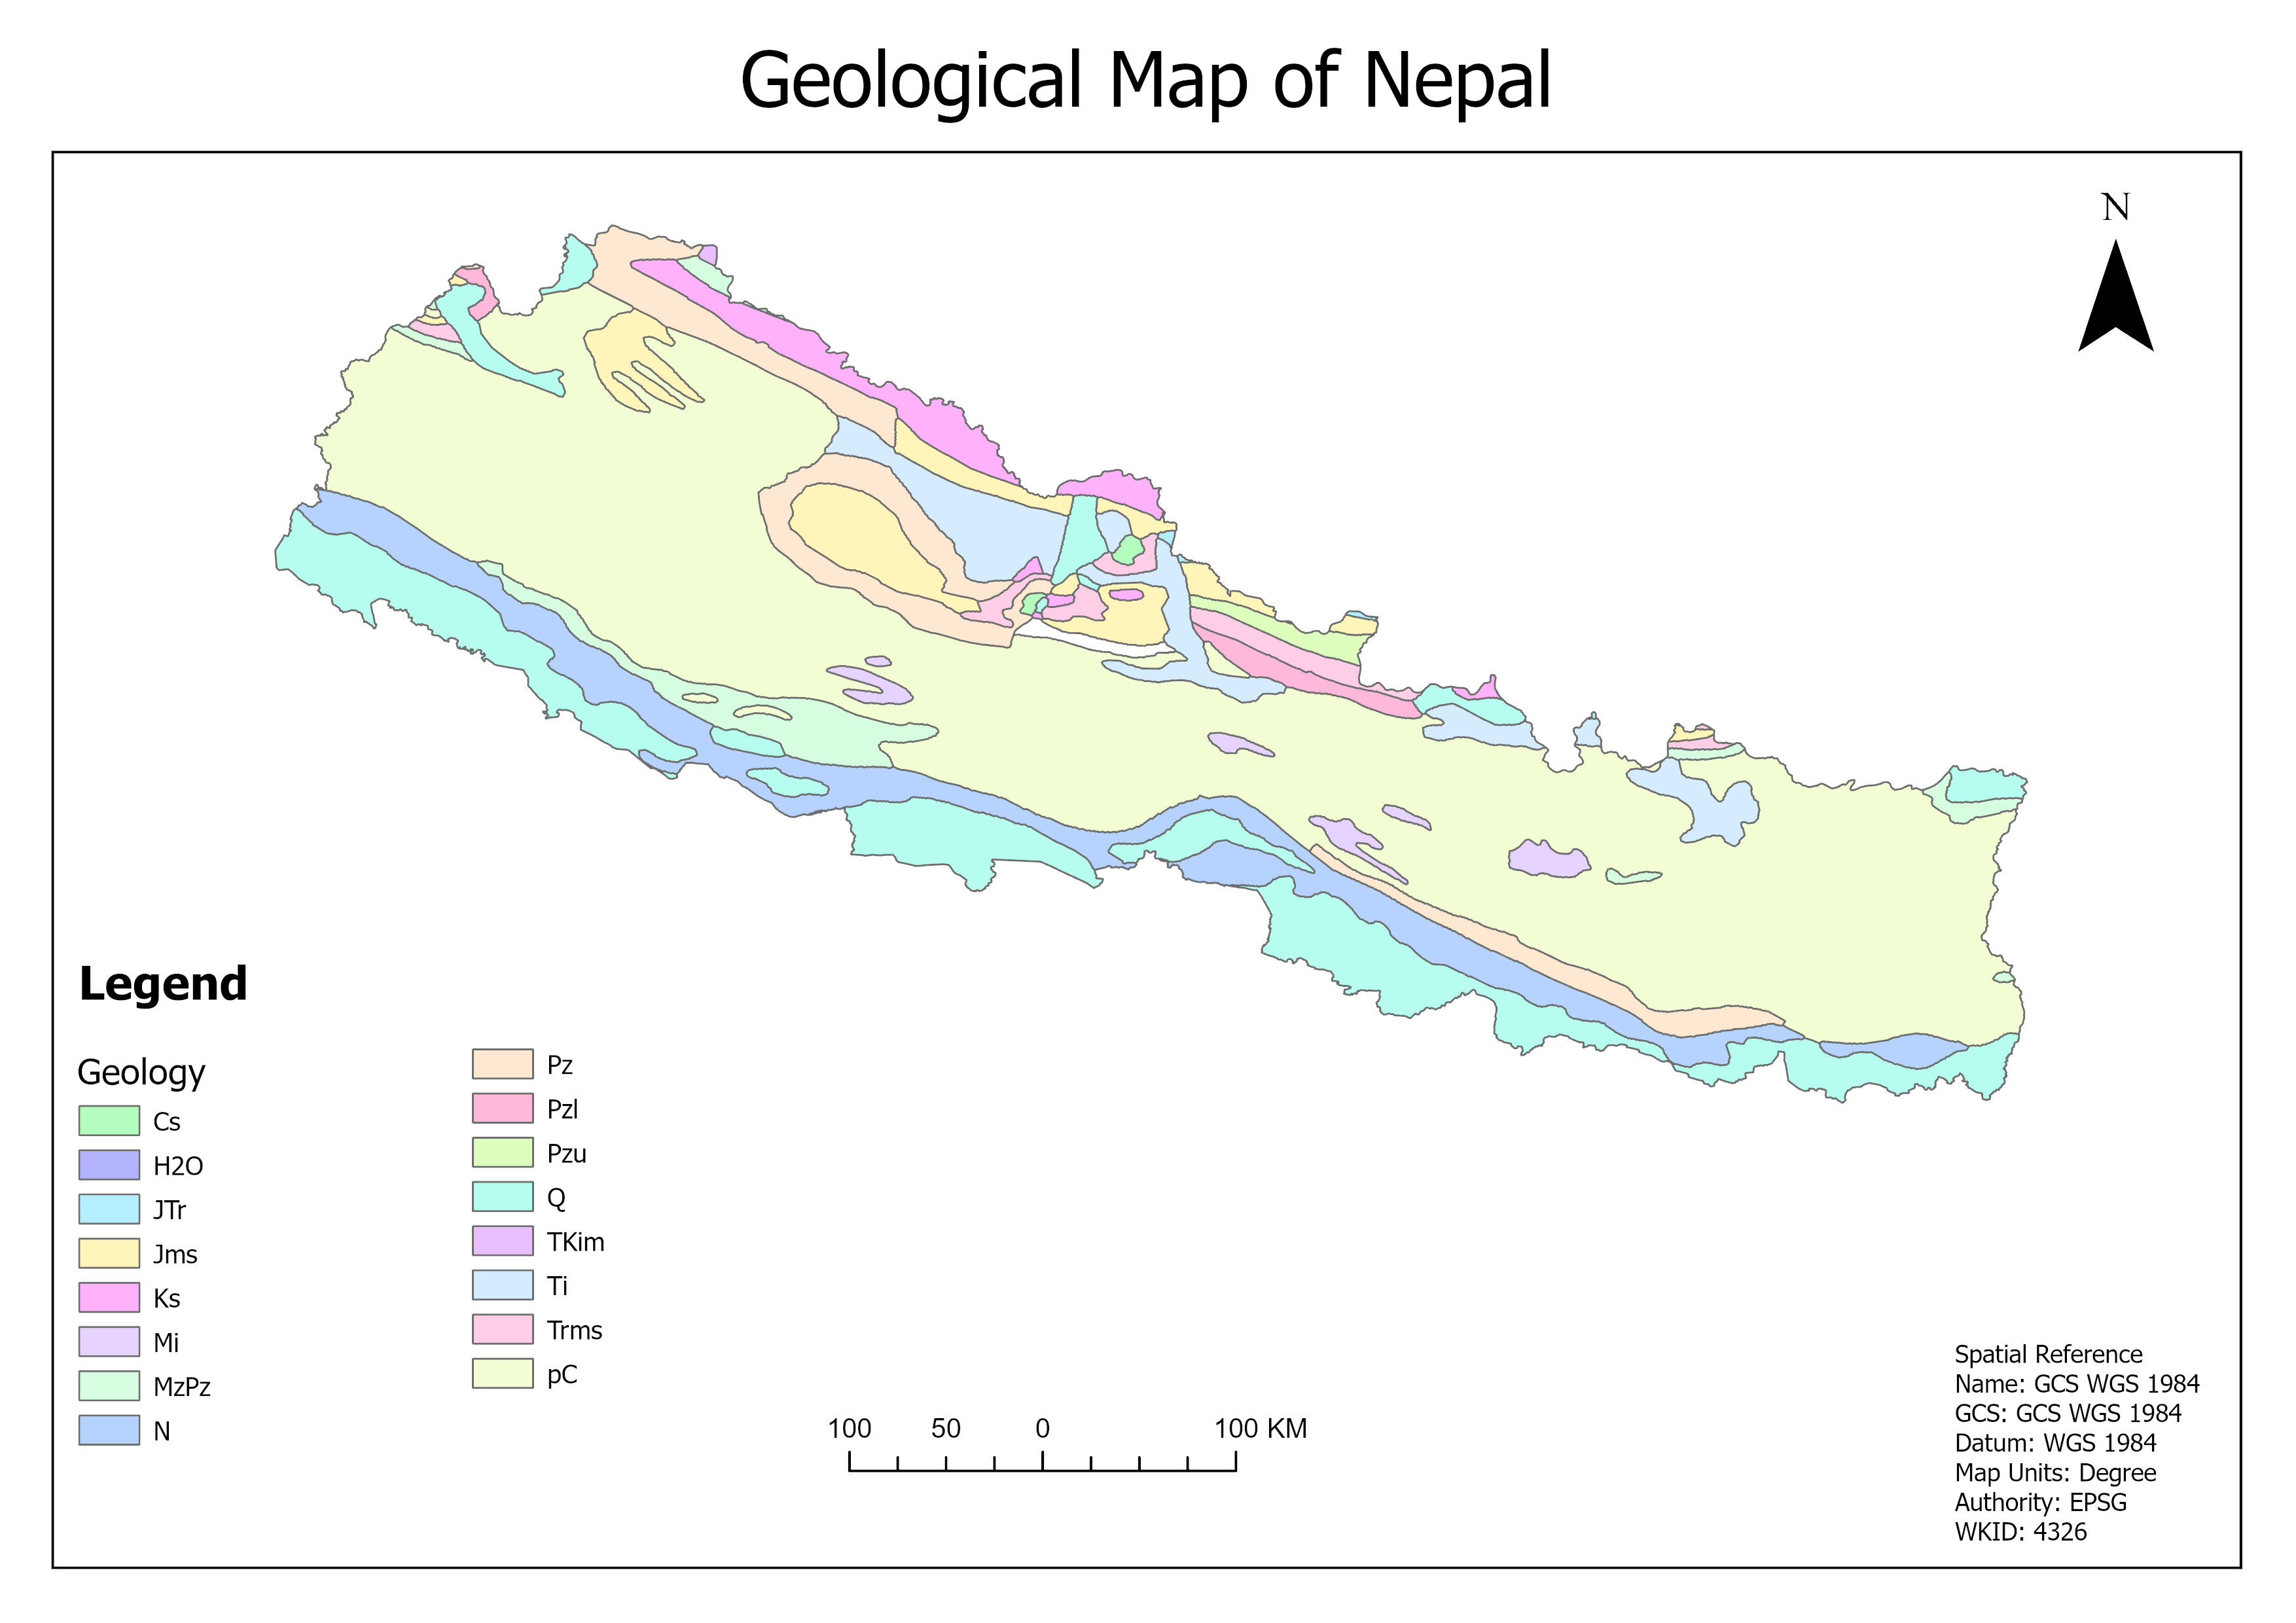
Geological maps are used to represent the distribution of different types of rocks and minerals on the Earth's surface. They are an important tool for geologists and other scientists who study the Earth's history and structure. In this tutorial, we will use ArcGIS Pro to create a geological map of a fictional area. We will start by importing geological data, creating a map layout, and customizing the map to show different rock types and geological features. By the end of this tutorial, you will have a professional-looking geological map that you can use for research or presentation purposes.
Tutorial Video available! 🥳
Watch the video tutorial on how to create a
geological map in ArcGIS Pro. Tutorial Video (opens in a new tab)
Step 1: Download Geological Data
Download it from https://certmapper.cr.usgs.gov/data/apps/world-maps/ (opens in a new tab)
OR, for South Asia, download the Shapefile: geo8apg.zip from https://www.sciencebase.gov/catalog/item/60c3b89fd34e86b93897ef19 (opens in a new tab)
Step 2: Create a New Map
Open ArcGIS Pro and create a new project. Click on the "Insert" tab and select "New Map" to create a new map document.
Step 3: Import Geological Data
Click on the "Add Data" button and select the geological data file that you downloaded in Step 1. The data will be added to the map as a new layer.
Step 4: Customize the Map
Customize the map by changing the symbology of the geological data layer. You can change the color, line style, and fill pattern of the different rock types and geological features to make them stand out on the map.
Step 5: Add Labels
Add labels to the map to identify different rock types and geological features. You can customize the font, size, and color of the labels to make them more readable.
Step 6: Create a Map Layout
Click on the "Layout" tab and select "New Layout" to create a new map layout. Add a title, legend, scale bar, and other elements to the layout to make it look professional.
Step 7: Export the Map
Export the map as an image file or PDF document. You can use the map for research, presentations, or publications.
That's it! You have successfully created a geological map in ArcGIS Pro. You can use the same steps to create geological maps of other areas or customize the map further to suit your needs. Happy mapping!
Watch the video tutorial on how to create a geological map in ArcGIS Pro. Tutorial Video (opens in a new tab)